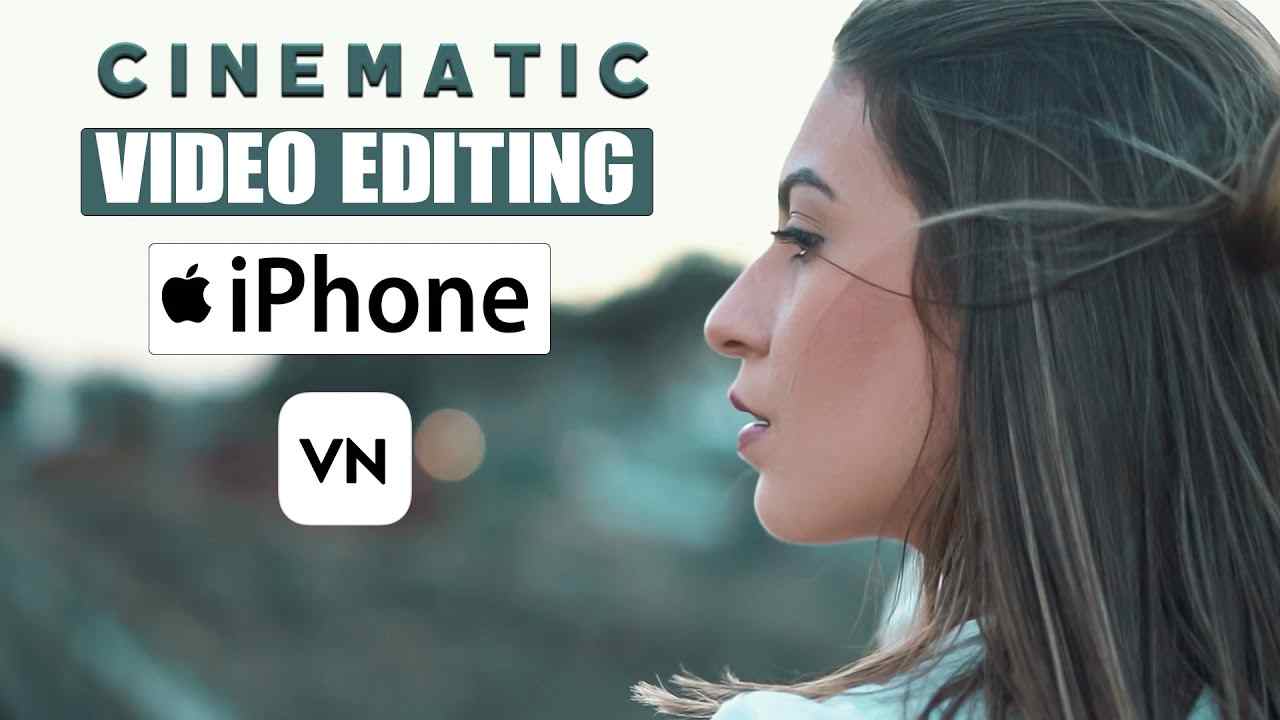
CINEMATIC VIDEO EDITING IN iPhone USING VN APP, How To Edit Cinematic Video In iPhone? Step-by-Step Guide!
If you also want to create amazing high-quality videos from your iPhone and upload them to YouTube without loss of quality, then this blog is for you. Today we will talk about what settings and apps you can use in the iPhone to create a cinematic and professional video.
How To Edit Cinematic Video In iPhone Start

First of all, you need a great app – here we are talking about the VN App. This is one of the best apps for editing on iPhone.
Step 1: Create a new project
Open the VN App and start a new project by clicking on the “+” icon. Here we’ll use some DSLR footage (like the one downloaded from Backside.com) to see what the DSLR footage looks like by editing it on an iPhone.
Step 2: Set up the video and audio
- First of all, mute the audio so that it does not interfere with the original audio editing.
- Now insert the background music and keep in mind that the beginning and end of the music should be with fade in / fade out so that it sounds smooth.
Cutting and scene changes
- Cutting with beat – Change the video scene where the music beat changes.
- Don’t keep the same scene too long; otherwise, the video will look boring.
- Insert different shots with the help of the split tool.
Aspect Ratio and Export Format
- Keep the frame of the video 16:9 (Landscape mode) so that it looks perfect on YouTube.
- Go to VN App, click on “Original” and select 16:9.
Slow-mo and fast-mo effects
- Use slow and fast motion in between to make the video more interesting:
- Where the beat is slow, add slow motion.
- Where the beat is fast, apply a fast effect.
Color Grading And LUTs
Now let’s talk about the video:
- Set Brightness, Vibrance, Temperature, Highlights, Shadows, and Contrast according to your footage.
- After this, if you want, you can apply LUT (like Film HD LUT) and “Apply to all.”
Cinematic Bars and Titles
- Go to “Tap to Add Title” and select the option of “Film Frame.”
- Add Cinematic Bars to both Opening and Closing.
- Choose a simple and professional transition like “Deep to White” for transitions.
Export Settings – the most important part!
- Now let’s come to the most important part – Export Settings
- The resolution is 1080p.
- Frame rate: Keep the same on which you shot the video (e.g. 25 FPS, so export also in 25 FPS).
- Bitrate: 50-60 Minimum, but I keep up to 90 for high quality.
- The final estimated file size can be around 450-500 MB.
Finally…
That’s all you need to do, and your video will look very filmy. If you follow all these steps, then believe me, your video can be a hit on YouTube.
If you found this guide helpful, be sure to share and comment. See you next time with a new tip or trick.
Thanks for reading!


